
Review · MOAB
Moab: The Windows Astro-Photography and Stargazing Hike
At Arches National Park, daylight shows you the red rock. Darkness reveals the stars above it. This two-hour hike through The Windows area combines Milky Way viewing with practical night-photography lessons, so you are not just staring upward and hoping your phone captures something useful.
I like the small groups, limited to six people, and the included tripod and red LED headlamp. I also like that guides such as Sam and Brandon work patiently with phones as well as cameras. The main consideration is the price: $175 per person, before the park entry fee and any camera rental. This is a photography lesson in a national park, not simply a short stargazing stop.
Key points
- Night access to The Windows: Walk roughly two miles after dark to North Window, South Window, Turret Arch, and Double Arch.
- Useful camera instruction: Learn manual night-photo basics and get help with both DSLR cameras and smartphones.
- Red headlamps included: The low-impact red light helps you walk without flooding the scene with harsh white light.
- Small groups matter: With no more than six people, the guide can spend real time helping each person frame and focus.
- Moonlight changes the experience: A dark moon can bring out stars, while a full moon lights the arches and makes walking easier.
- Optional camera rentals: A DSLR camera or compatible Canon EF/EFS or Nikon F lens can be rented for an additional fee.
Why The Windows looks different after dark
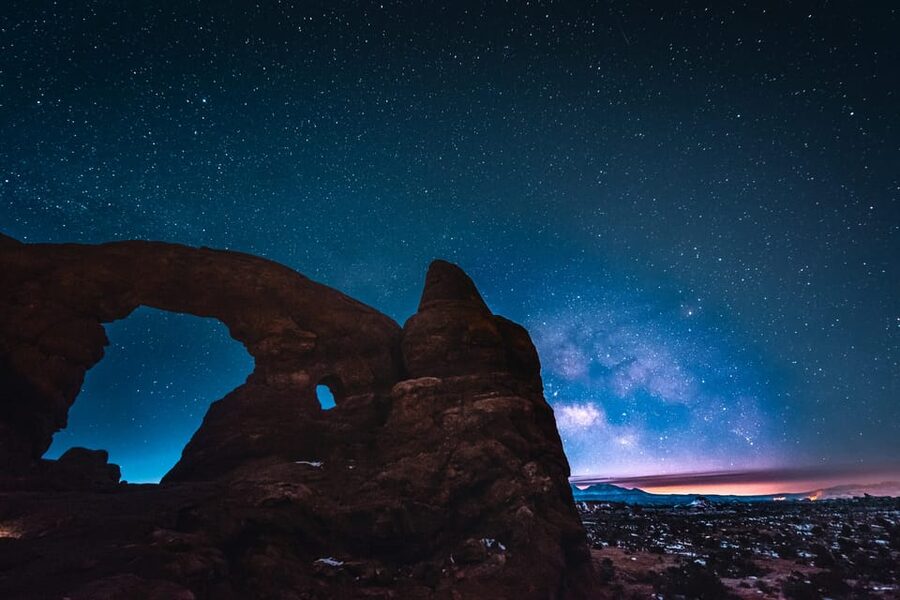
The Windows section is one of Arches National Park’s most concentrated collections of giant stone openings. In daylight, you can easily see the broad shapes of North Window, South Window, Turret Arch, and Double Arch. At night, your attention shifts upward and outward.
You walk through a rock garden of fins, towers, and arches with a narrow beam of red light. The darkness hides some details, but it also removes visual clutter. The rock formations become silhouettes against the sky, and the stars provide the main source of drama.
That change is the point of the tour. You are not covering miles of trail or checking off every famous feature in the park. You are learning how to slow down, compose a photograph, and notice how moonlight and starlight alter the same red rock.
The guide also helps you move safely. One person described receiving clear warnings near drop-offs, which matters here. The route is not a technical climb, but walking among rock formations at night requires attention. Wear proper hiking shoes, keep your water handy, and do not treat the headlamp as a decorative extra.
More Astrophotography Tours in the USA:
- Stargazing and Milky Way Portrait in Capitol Reef National Park
★ 4.5 · 13 reviews - Milky Way Photography Workshop in Acadia National Park
★ 5.0 · 8 reviews - Milky Way Photography in Arches National Park
★ 4.0 · 4 reviews
Meeting at The Windows parking area
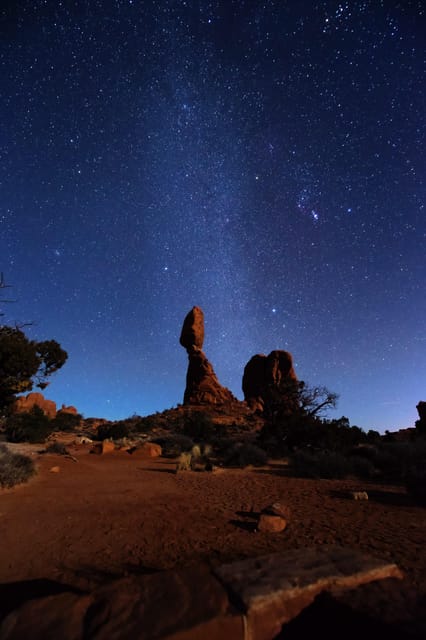
You meet after dark at the first parking lot on the right at The Windows trailhead. You need to arrange your own transportation, and the $175 tour price does not include the Arches National Park entry fee. A standard vehicle pass costs $30.
Check the starting time when you book, since the schedule changes. Arrive ready to walk rather than expecting a long orientation session in the parking lot. Your guide supplies a red LED headlamp and can provide a tripod if you need one.
Bring your camera, a charged smartphone, water, and hiking shoes. Even if you plan to use a DSLR, keep your phone charged. The guides have helped people make good night images with phones, and your phone can also serve as a useful backup light and navigation tool.
The small group format is one of the better features here. Six people is a manageable number for a photography lesson. You can ask for help with settings without waiting behind a large crowd, and the guide can check that each person has a stable tripod and a sensible composition.
Learning the basics of night photography
The instruction is aimed at helping you take photographs during the hike, not at giving you a long classroom lecture. You learn the fundamentals of working in low light and then put those skills to use at the arches.
Expect help with the camera settings needed for stars, focus, framing, and exposure. Exact instruction will depend on your equipment and experience. If you arrive with only a phone, you still have a useful role in the group. Sam and Brandon have helped people use phone camera features to make strong images of the stars and arches.
This is especially valuable if you have tried night photography before and ended up with a black screen, blurry stars, or a bright blob where the moon should be. A guide can quickly identify whether the problem is focus, movement, exposure, or the position of the camera.
A tripod is important because night photographs often need a longer exposure. The included tripods are available if you need one, which saves you from bringing a bulky support from home. A tripod also lets you frame the scene carefully instead of holding your camera at arm’s length and hoping for the best.
You should not expect every photograph to look perfect on the first attempt. The point is to leave with a repeatable method. Once you understand the basic controls, you can use the same ideas later in your own backyard, on another national park trip, or with a phone under a darker sky.
North Window, South Window, and Turret Arch
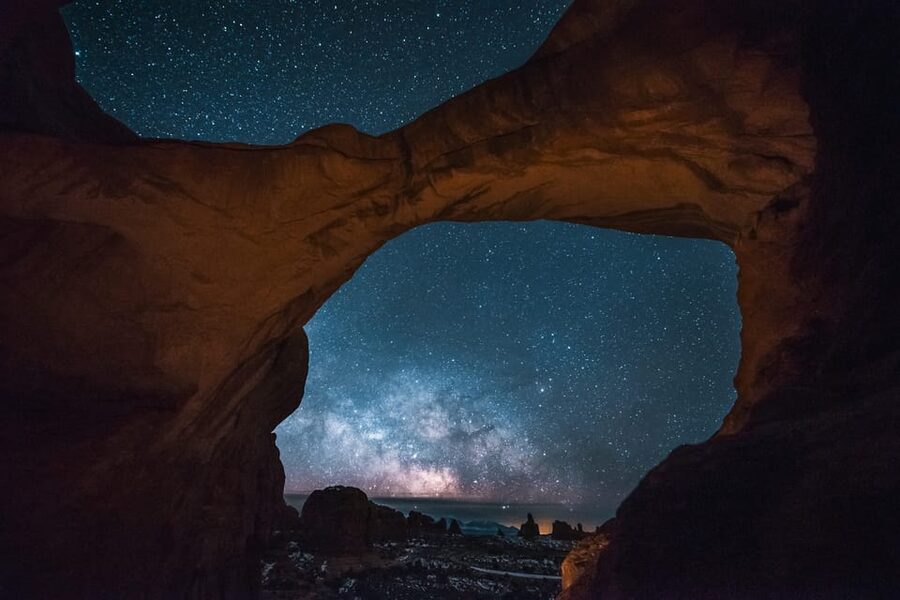
The hike takes you through the North and South Windows and past Turret Arch. These formations give the guide several different ways to talk about composition.
The Windows are broad and open, making them useful for framing the sky with red rock. You can place the arch around the stars, or use the dark outline of the rock to give the sky a stronger shape. Turret Arch offers a different view, with a more distinct stone form that can anchor a photograph.
At each stop, you have time to practice rather than simply pause for a quick look. That matters because astrophotography is slow work. You may need to adjust the camera, check the image, move the tripod, and try again. A short stop would not give you enough time to understand what changed.
The guide also adds context about the forces that shaped the arches. You are looking at rock formed by erosion and other natural forces, but the night setting changes how you take in that information. The formations are not lit for display. Their outlines emerge through moonlight, starlight, or your camera sensor.
That last point is worth remembering: your camera may record light you cannot see with your eyes. A long exposure can reveal more stars and color than your immediate view suggests. Do not judge the sky only by what appears on your phone screen before the shutter opens.
More Night Hikes in the USA:
- Griffith Observatory Hike: Guided Tour through Griffith Park
★ 5.0 · 1,020 reviews - Los Angeles: Griffith Observatory Guided Hike/Walking Tour
★ 4.9 · 199 reviews - Hollywood Sign Hiking Tour to Griffith Observatory
★ 4.9 · 106 reviews - Hollywood Sign Hiking Tour to Griffith Observatory
★ 5.0 · 99 reviews
Double Arch is the photographic finale
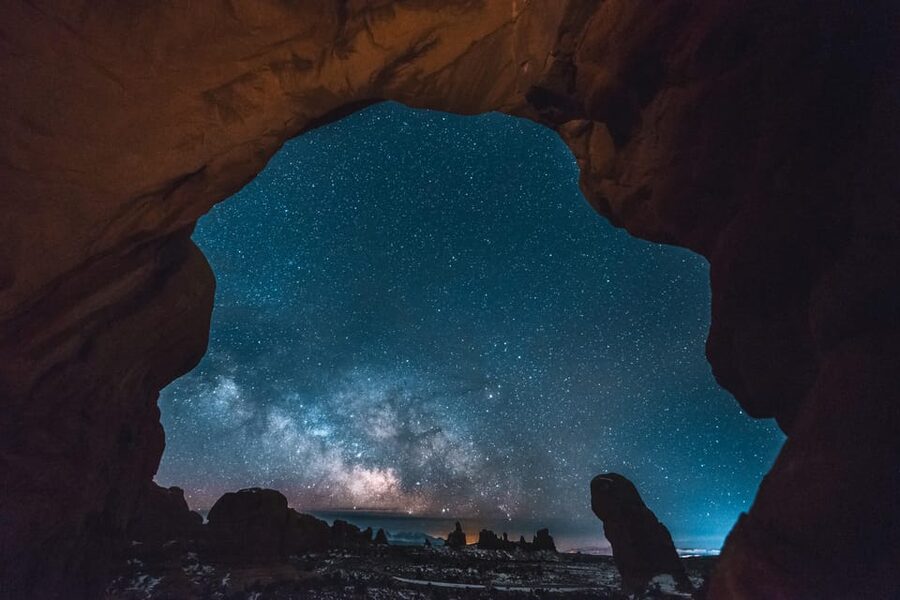
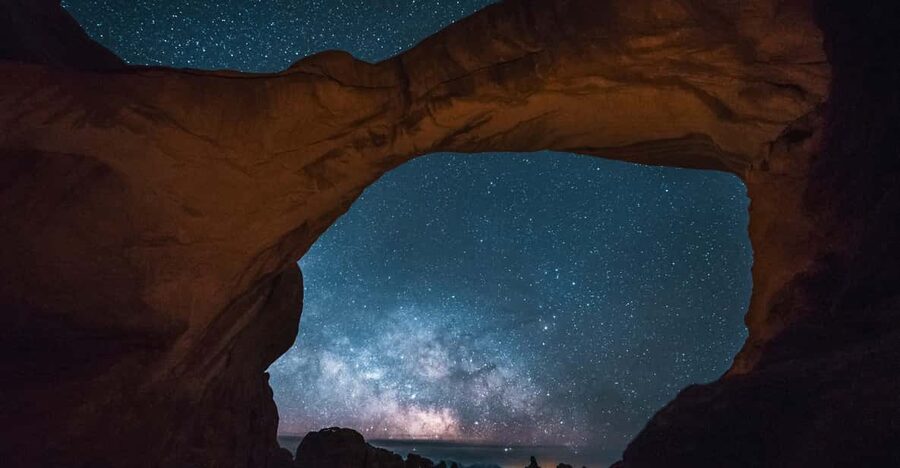
Double Arch is the highlight of the route. Its two connected openings create a large natural frame, and the dark sky above it gives you a strong subject for a final set of photographs.
This is where the earlier instruction starts to pay off. You have already practiced setting up the tripod, focusing in the dark, and deciding how much rock and sky to include. At Double Arch, you can concentrate on making a more deliberate image instead of figuring out every control from scratch.
The route covers roughly two miles, so you should be comfortable walking on uneven ground in darkness. The activity is not suitable for children under six, people with mobility impairments, or wheelchair users. Pets are not allowed.
The guide remains important at this stage. Brandon has been praised for patiently helping people with both cameras and iPhones, while Sam has been singled out for her photography background and friendly, careful teaching. The guide names may vary, but the useful thing to look for is hands-on assistance rather than a scripted talk.
After photographing Double Arch, you return to the parking area. The experience finishes where it began, without transportation between the stops.
Choosing the right moon phase
You do not need to book only for a moonless night. The activity is offered throughout the lunar cycle, and each phase changes what you see.
A darker sky generally gives the Milky Way and fainter stars more visual weight. This is the choice for you if your main goal is a star-filled image with less moonlight on the rock. If you want the darkest possible sky, contact the provider before booking so they can confirm that the timing suits your preference.
A full moon creates a different scene. It can light the arches and make the hike feel more open, while still producing striking photographs. One group enjoyed a full-moon outing for precisely that reason, and another happened to see the northern lights on a clear November night.
The northern lights are not a guaranteed feature of this tour, and you should not book it expecting them. The reliable draw is the night sky over Arches, with the possibility of unusual conditions adding something extra.
Your camera can also change the result. Pictures may pick up light that is not visible to your eyes, so a night that seems only moderately dark can still produce a strong image. Ask the guide how the moon will affect the planned start time if you have a specific goal.
Using your own phone, DSLR, or rental gear
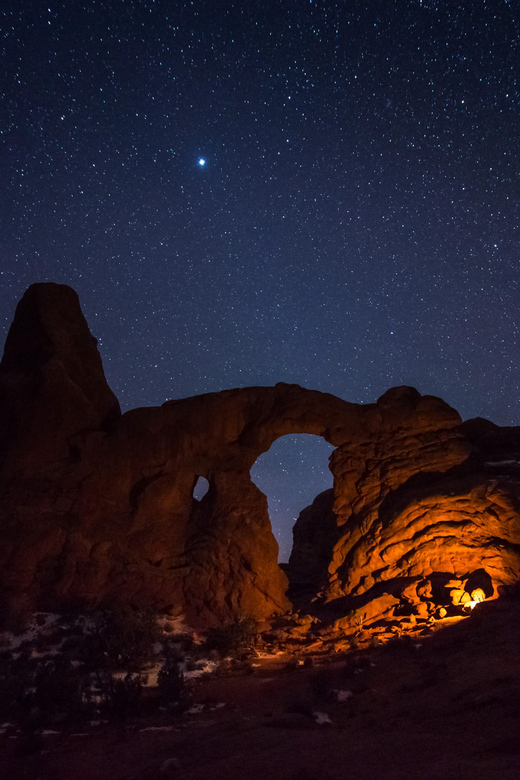
Bring your own camera if you have one. The guide can work with a range of experience levels, and the instruction is not limited to professional equipment.
A modern smartphone may be enough for you to learn the basic ideas. The guides have helped people adjust phone features and make star photographs, which is useful if you do not want to carry a larger camera. Your results will depend on your phone, the moon, and your technique, but the lesson can still give you better control than automatic mode.
You can also rent a DSLR camera or lens for an additional fee. Available lenses use Canon EF/EFS or Nikon F mounts. Arrange this before the tour begins, not after you arrive at the trailhead.
Rental gear can make sense if you want to try astrophotography without buying equipment. It can also add a layer of complication, especially if you have never used that camera system. If you rent, allow time to become familiar with the basic controls before the hike starts.
The camera rental does not remove the need for patience. Good equipment cannot fix a loose tripod, poor focus, or an awkward composition. The value is in having the guide beside you while you learn how to use it.
What $175 buys you
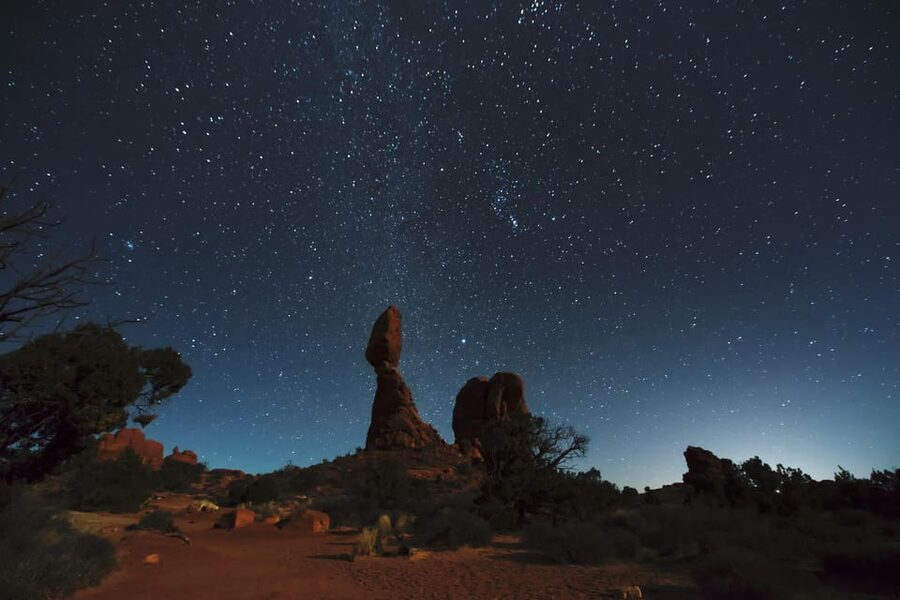
At $175 per person, this is not a low-cost way to see Arches after dark. You also pay the $30 standard vehicle entry fee separately, and any DSLR or lens rental costs extra. For two people, the base tour cost is $350 before park admission and equipment.
The price makes more sense if you want instruction. You are paying for a two-hour guided walk, a small group, a red headlamp, tripod access, route guidance, and help with your own camera or phone. The guide may also help edit a few photographs, as happened for one person who rented a camera.
If you only want to see stars, you may prefer visiting a dark-sky location on your own. If you want to understand how to photograph the stars and avoid wasting an evening on settings that do not work, the guided format offers more value.
The strongest part of the cost is the individual attention. In a group capped at six, the guide can help you troubleshoot instead of offering only general advice. That is particularly useful when members of the same group bring different cameras.
The tour is also a good fit for a special evening in Moab. Several hours in the park after sunset can be a memorable end to a day of sightseeing, but the price is easier to justify if the photographs and skills matter to you after the trip.
Who should book this night hike
Book it if you want a guided introduction to astrophotography, especially if you are unsure how to photograph stars with your phone or camera. It also suits photographers who want a safe, organized way to work around The Windows after dark.
You should be comfortable walking about two miles on footpaths and uneven ground. The tour is not designed for wheelchair users or people with mobility impairments, and it is not suitable for children under six.
This is a particularly good choice for:
- A first attempt at night photography
- Couples or friends who want a quiet evening activity
- Photographers who want help with a DSLR rental
- People who enjoy Arches but have not seen it under moonlight
- Anyone who wants a small group rather than a large coach outing
You may want to skip it if you dislike walking in darkness, have no interest in taking photographs, or want a completely independent evening. The guide provides safety direction and instruction, but you still need to carry your own water and pay attention to the trail.
Practical details before you go
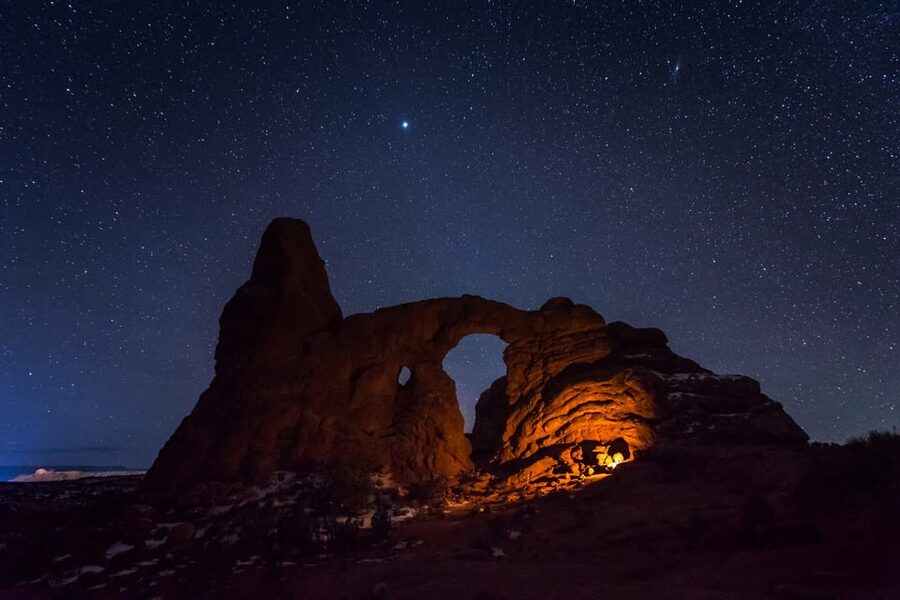
Wear hiking shoes with reliable footing. Bring water, a charged smartphone, and the camera you plan to use. A tripod and red LED headlamp are included, but you should not assume every accessory you want will be available.
Confirm the starting time and make sure you know how to reach the first parking lot on the right at The Windows. Transportation to the meeting point is not included, so you need your own vehicle or another way to get there.
The tour runs in English. It offers free cancellation up to 24 hours before the start, and you can reserve now and pay later. Those policies help if weather or changing Moab plans make your schedule uncertain, though you should still check the exact booking terms at the time of purchase.
The activity has a 4.8 rating from 36 reviews, with repeated praise for patient instruction, safe route guidance, and help with phones as well as cameras. I would place the most weight on those practical details. A beautiful sky helps, but a calm guide who can show you what to change on your camera is what turns the evening into a useful lesson.
Should you book the Windows Astro-Photography Hike?
You should book this tour if you want more than a look at the stars. The combination of The Windows, Turret Arch, Double Arch, and hands-on photo help gives the evening a clear purpose.
The best reason to go is the instruction. Guides such as Sam and Brandon have helped beginners make photographs with phones, explained camera controls patiently, and kept people aware of drop-offs in the dark. The small group makes that personal help possible.
Think twice if $175 feels high for a two-hour activity, especially after adding park admission and a possible rental. You can see the night sky without a guide. But if you want to return home with better skills, usable photographs, and a new sense of how Arches changes after sunset, this is a sound choice.
FAQ
How long is the Windows Astro-Photography and Stargazing Hike?
The activity lasts two hours and includes roughly two miles of hiking from the Windows trailhead.
Where does the tour meet?
Meet at The Windows parking area, in the first parking lot on the right.
Is transportation to The Windows included?
No. You must arrange your own transportation to the meeting point.
Is the Arches National Park entry fee included?
No. A standard vehicle entry pass costs $30 and is separate from the tour price.
What equipment is included?
The tour includes red LED headlamps and tripods if needed. You should bring your own camera and a charged smartphone.
Can I use a smartphone instead of a DSLR?
Yes. The guides can help you use phone camera features for night photography. Sam and Brandon have both helped people make star photographs with iPhones.
Can I rent a camera or lens?
Yes. A DSLR camera and DSLR lenses with Canon EF/EFS and Nikon F mounts are available for an additional fee. Arrange the rental before the tour starts.
Is the hike suitable for everyone?
No. It is not suitable for children under six, people with mobility impairments, or wheelchair users. Pets are not allowed.
Just in after dark around the USA
- Seattle: Hop-on Hop-off Bus Tour and Sky View Observatory★ 4.4 · 16 reviews
- Boulder: Guided Astronomy Tour★ 4.7 · 11 reviews
- 1-Day Grand Canyon Tour from Las Vegas: Stargazing & Sunrise★ 3.6 · 3 reviews
- Griffith Observatory: Scott E-Bike Tours LA Private Tour★ 5.0 · 32 reviews
- Private Tour of Griffith Observatory★ 4.5 · 58 reviews
- Haleakala Sunset and Stargazing Audio Tour★ 4.0 · 10 reviews
- Stargazing and Milky Way Portrait in Capitol Reef National Park★ 4.5 · 13 reviews
- Stargazing Tour in Kapalua★ 5.0 · 31 reviews
Astrophotography Tours, night against night.
Private astronomy tour with sunset toast, picnic, and astrophotography
Read our review →
AuthenticAs Star Gazing -Nightscape Portrait Photography Tour
Read our review →
Doha Night Desert Safari, Stargazing, Photography، Relaxation
Read our review →
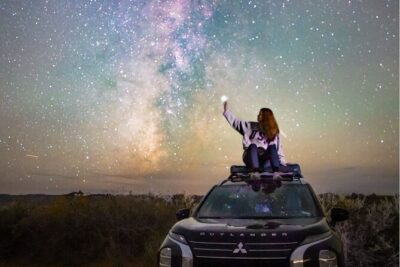
Stargazing and Milky Way Portrait in Capitol Reef National Park
Read our review →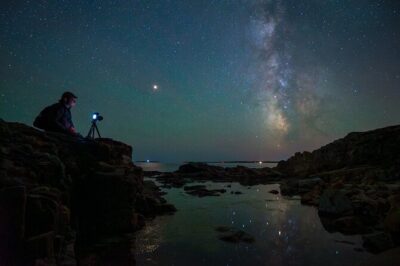
Milky Way Photography Workshop in Acadia National Park
Read our review →
Mount Bromo Milky Way Photography and Sunrise Private Tour (1D1N)
Read our review →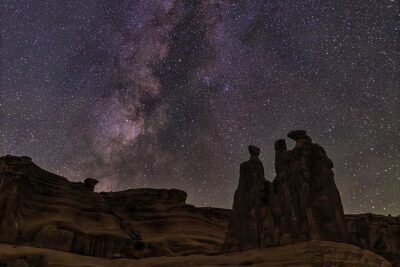
Lists this night appears in